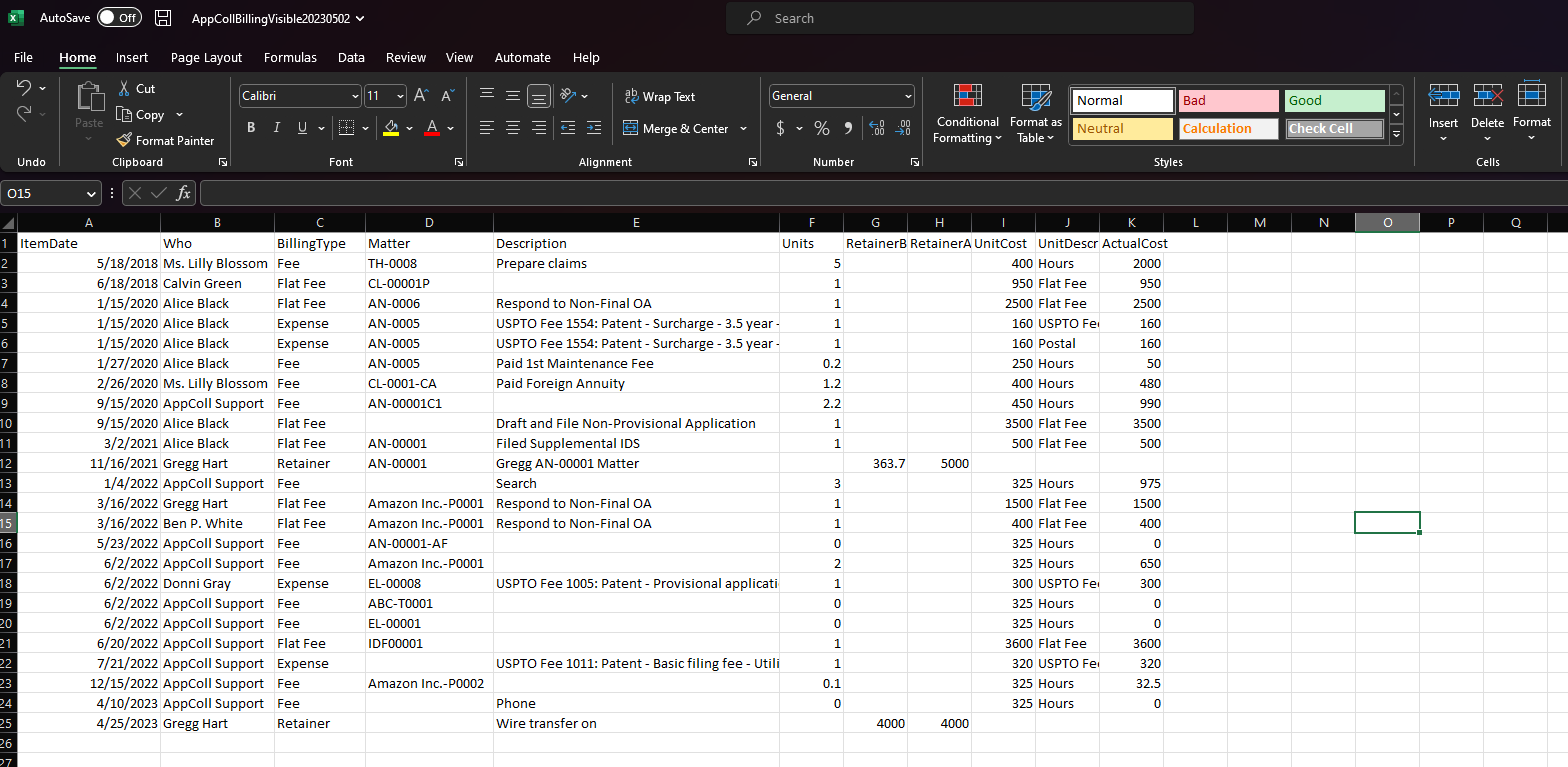
If you maintain billing items in spreadsheets or other means outside of AppColl, you are able to import them into AppColl using the attached Billing Item Template spreadsheet file. Here are the steps:
1. Remove any the sample data, leaving the top row intact.
2. Fill in columns A-H for each billing item, as these are mandatory. The remaining columns are optional. Note that the only Types of billing items you may import are "Fee," "Flat Fee," and "Expense."

3. Important: Save the file to your system as a .csv file, not an .xls file.
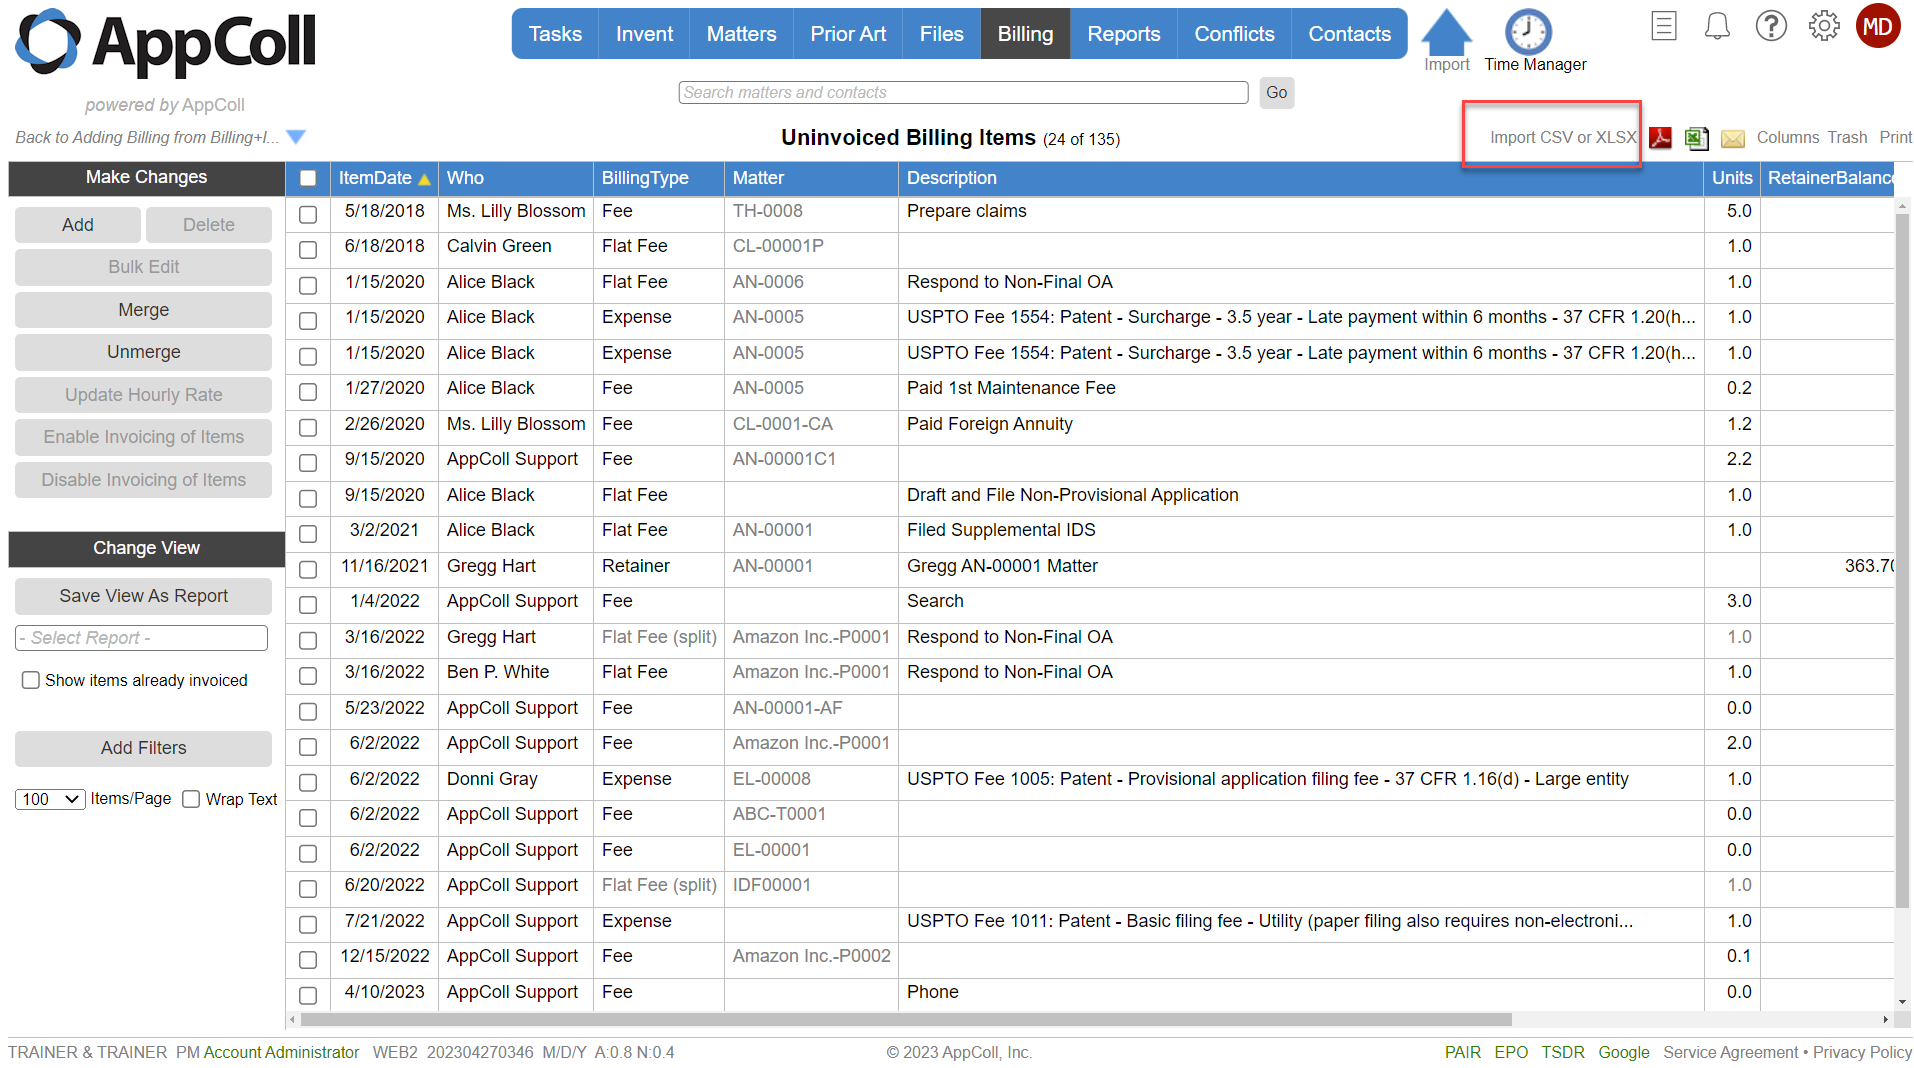
4. In the Billing Module, on the Uninvoiced Billing Items page, click the Import CSV link in the upper-right corner.

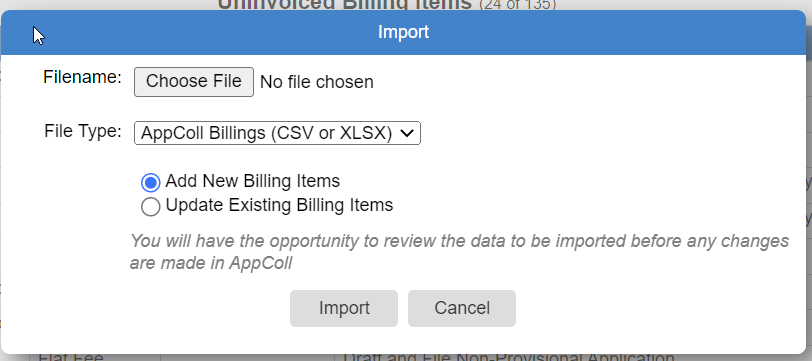
6. From the popup window, click the "Choose File" button and browse for your .csv file. Click the appropriate radio button for adding new or updating existing items.

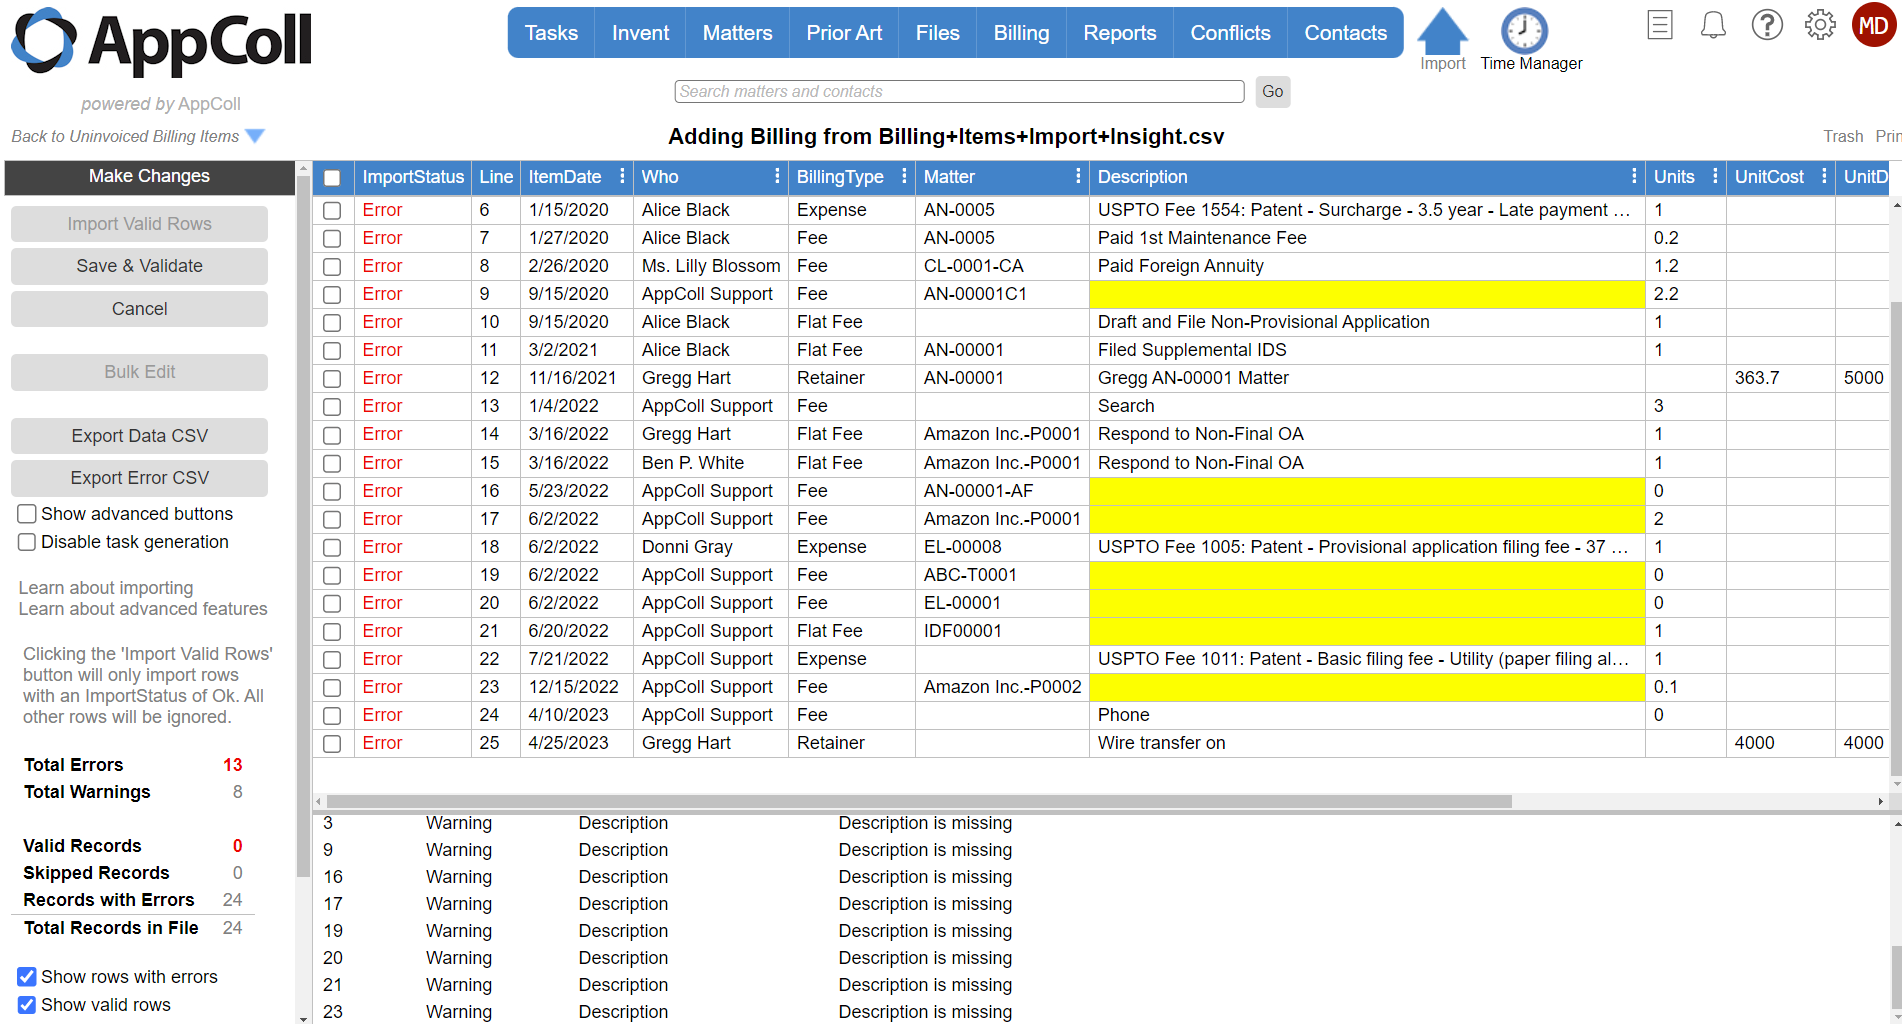
8. Click the "Import" button. AppColl will check the file for any errors. If no errors are reported, click the "Proceed with Import" button in the left margin. If there are errors, AppColl will indicate the problems and the spreadsheet rows that need corrected. Click the "Done" button in the left margin, and repeat the steps until no more errors are reported.
You may not have any errors, but have warnings. After reviewing the warnings, you can either complete the import by clicking the "Save & Validate" button, or you can abandon the import by clicking the "Cancel" button.

Attachments