Please note: This feature is only available in AppColl Plus. Click here for pricing and details on the plus features.
AppColl speaks QuickBooks!
Once you've enabled AppColl Plus, you're ready to start sending Client Contacts, Invoices, and Payments between AppColl and QuickBooks.
AppColl integrates with QuickBooks in four ways:
* Sending Client Contact information to QuickBooks
* Importing QuickBooks Customers as AppColl Client Contacts
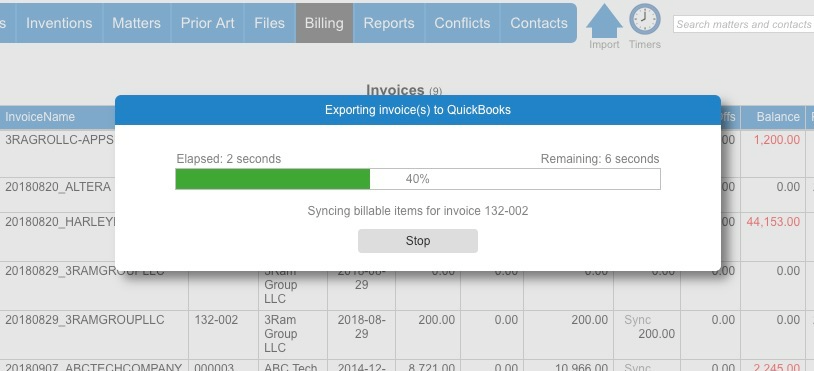
* Sending AppColl Invoices to QuickBooks
* Importing Payments applied to Invoices from QuickBooks
Connecting to QuickBooks
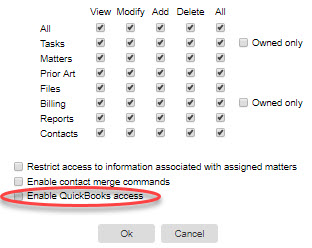
There are a couple permissions settings to enable: First, If there's a non-Administrator you'd like to have access to QuickBooks, you'll see an, "Enable QuickBooks" checkbox on their permissions page (Contacts Module, click on the user's contact, and click the "Permissions" button). AppColl Administrators have access by default. Second, the user connecting to QuickBooks needs to be an Administrator role in QuickBooks.
The QuickBooks button is located on the Invoices main page: Click on "Billing" and then "Manage Invoices." You'll see a QuickBooks button on the left-hand navigation. You can Send and Import Client Contacts without selecting any Invoices. To export Invoices or to import Payments, you have to select at least one Invoice.
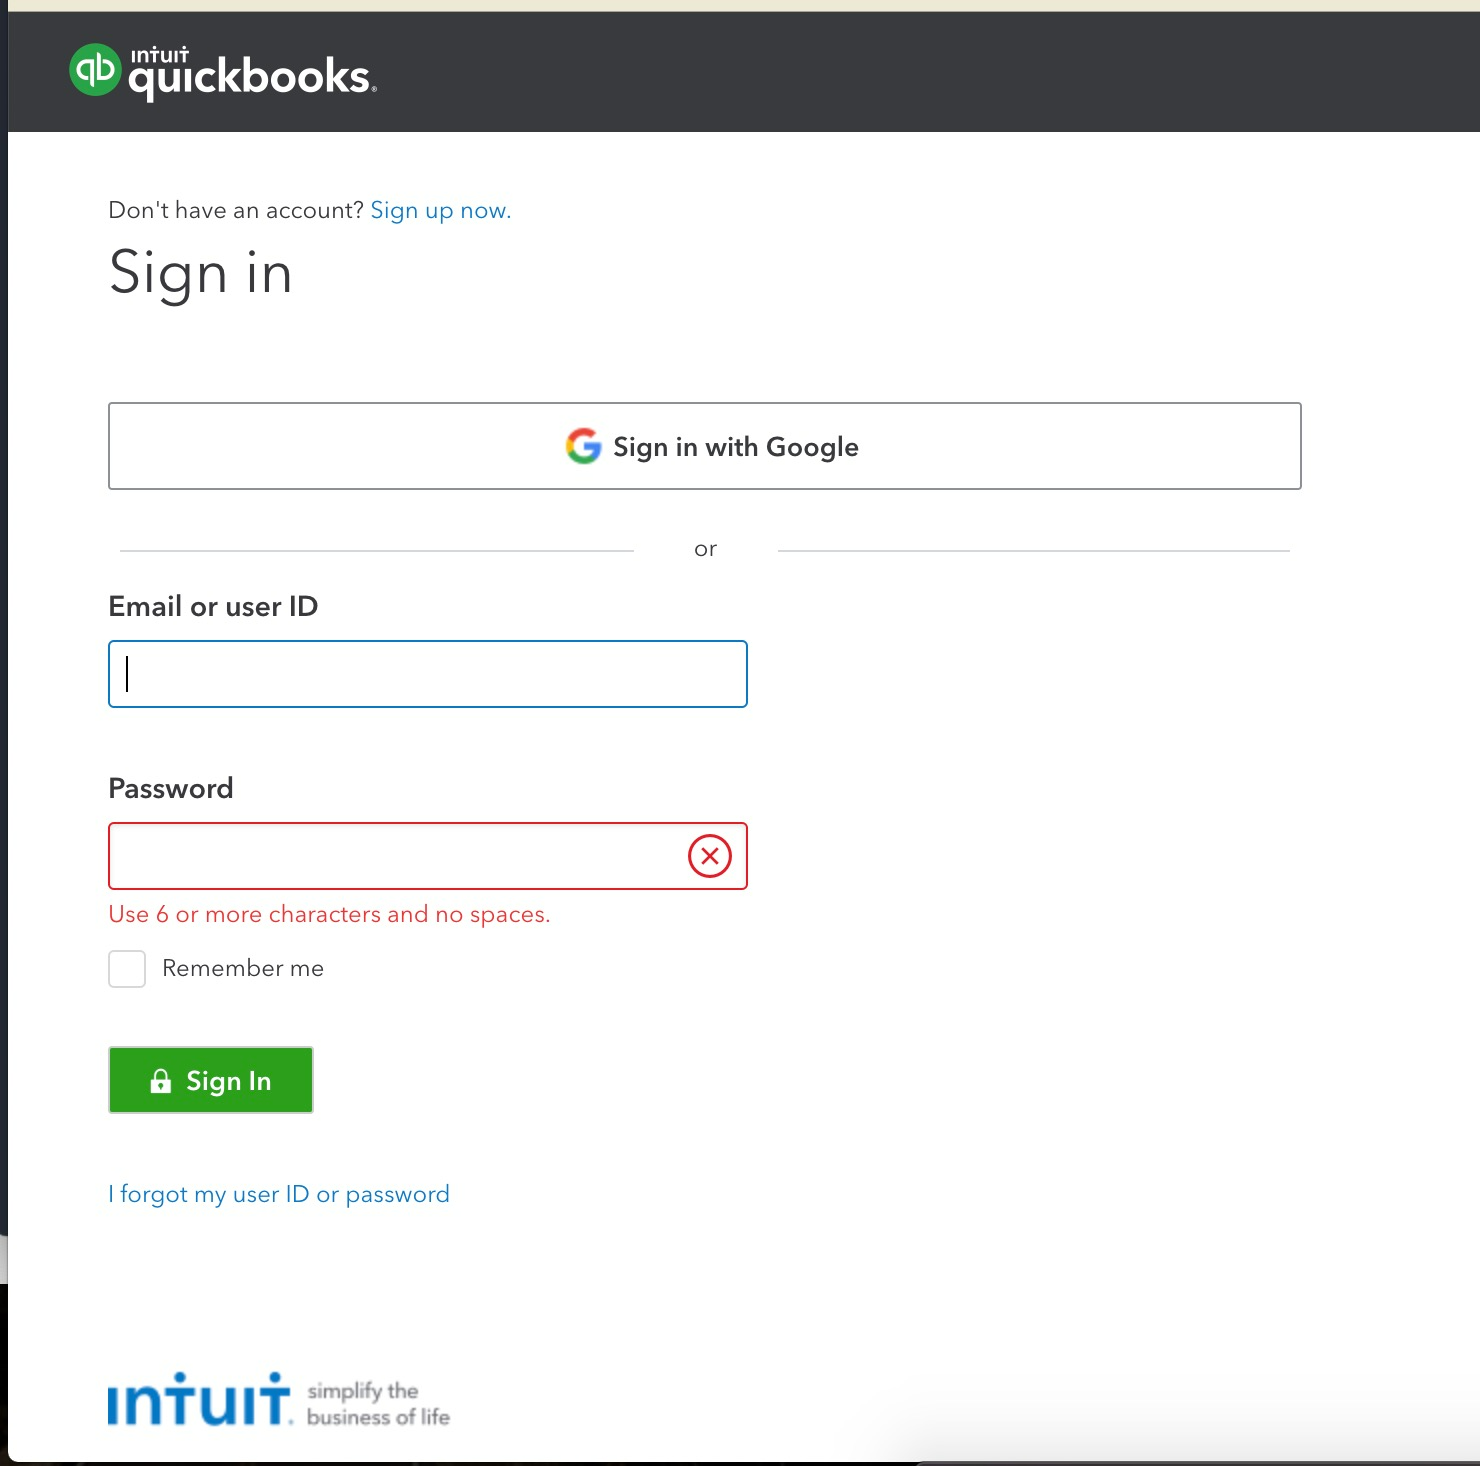
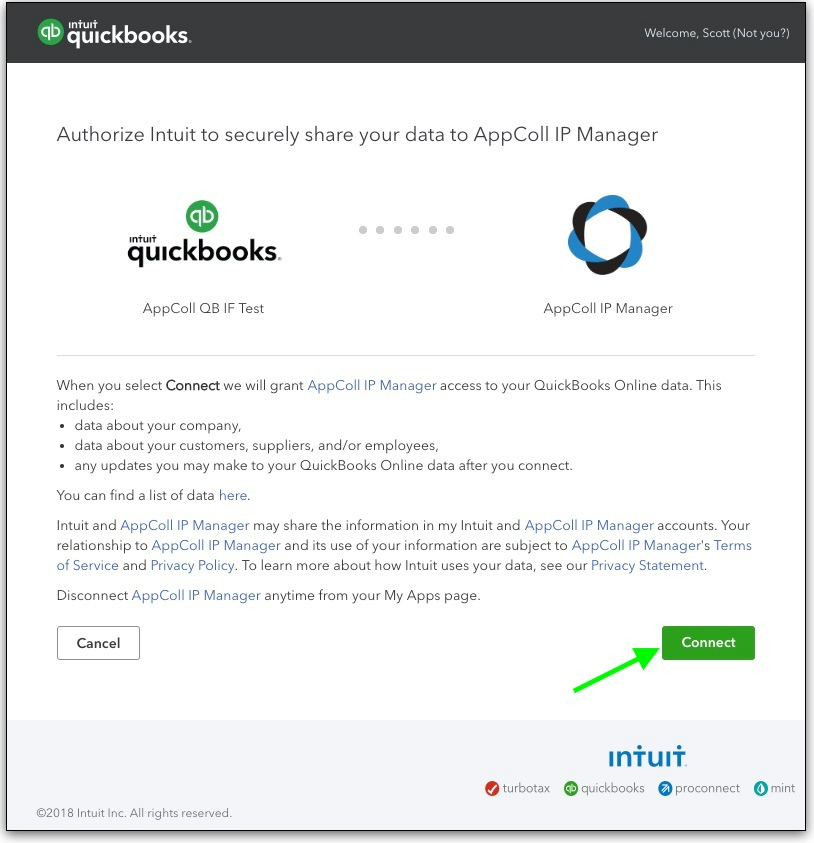
Upon clicking one of the operations, you'll be automatically sent to QuickBooks to authorize AppColl. You'll log into QuickBooks using your QuickBooks login and click a button to confirm the connection. You'll come back to AppColl where your operation will continue. You'll only have to do this once per AppColl session. Please note: Logging out of AppColl will also disconnect from QuickBooks.


